
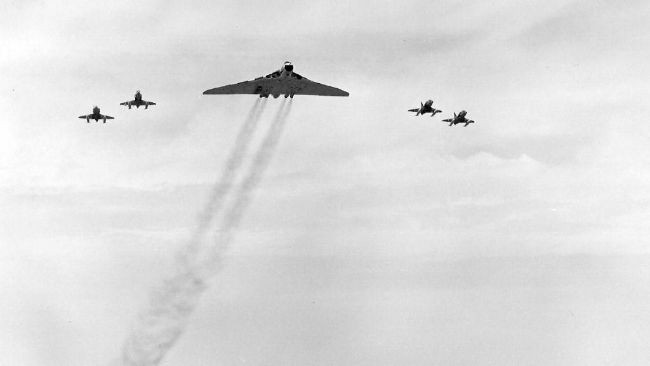
The Vulcan Enters RAF Service
On Saturday 30 August 1952, history was made as Avro Type 698, VX770, took to the sky for the first time. It was the prototype

It’s what 558 does best, her signature and lets you know she is here. But have you ever wondered why she makes that noise as the engines reach 90%? Have you ever wondered what “the howl” is doing to the airframe?

The howl is unique to the 200 series airframes. It is caused by approximately 100 kilos of air per second being sucked through a square hole which then changes into a smaller oval hole and then a slightly smaller round hole (small is relative here.) Try blowing over the neck of a glass bottle and you’ll get a similar effect (though not as spectacular). 558 starts to howl at about 87% throttle and the howl continues until about 95%. To get the full effect you need to be stood forward of the intakes, about 4 to 5,000 foot down the runway is a good place at an air show where she is taking off. Of course I would say the absolute best place to get the full effect is underneath the jet during an engine run!
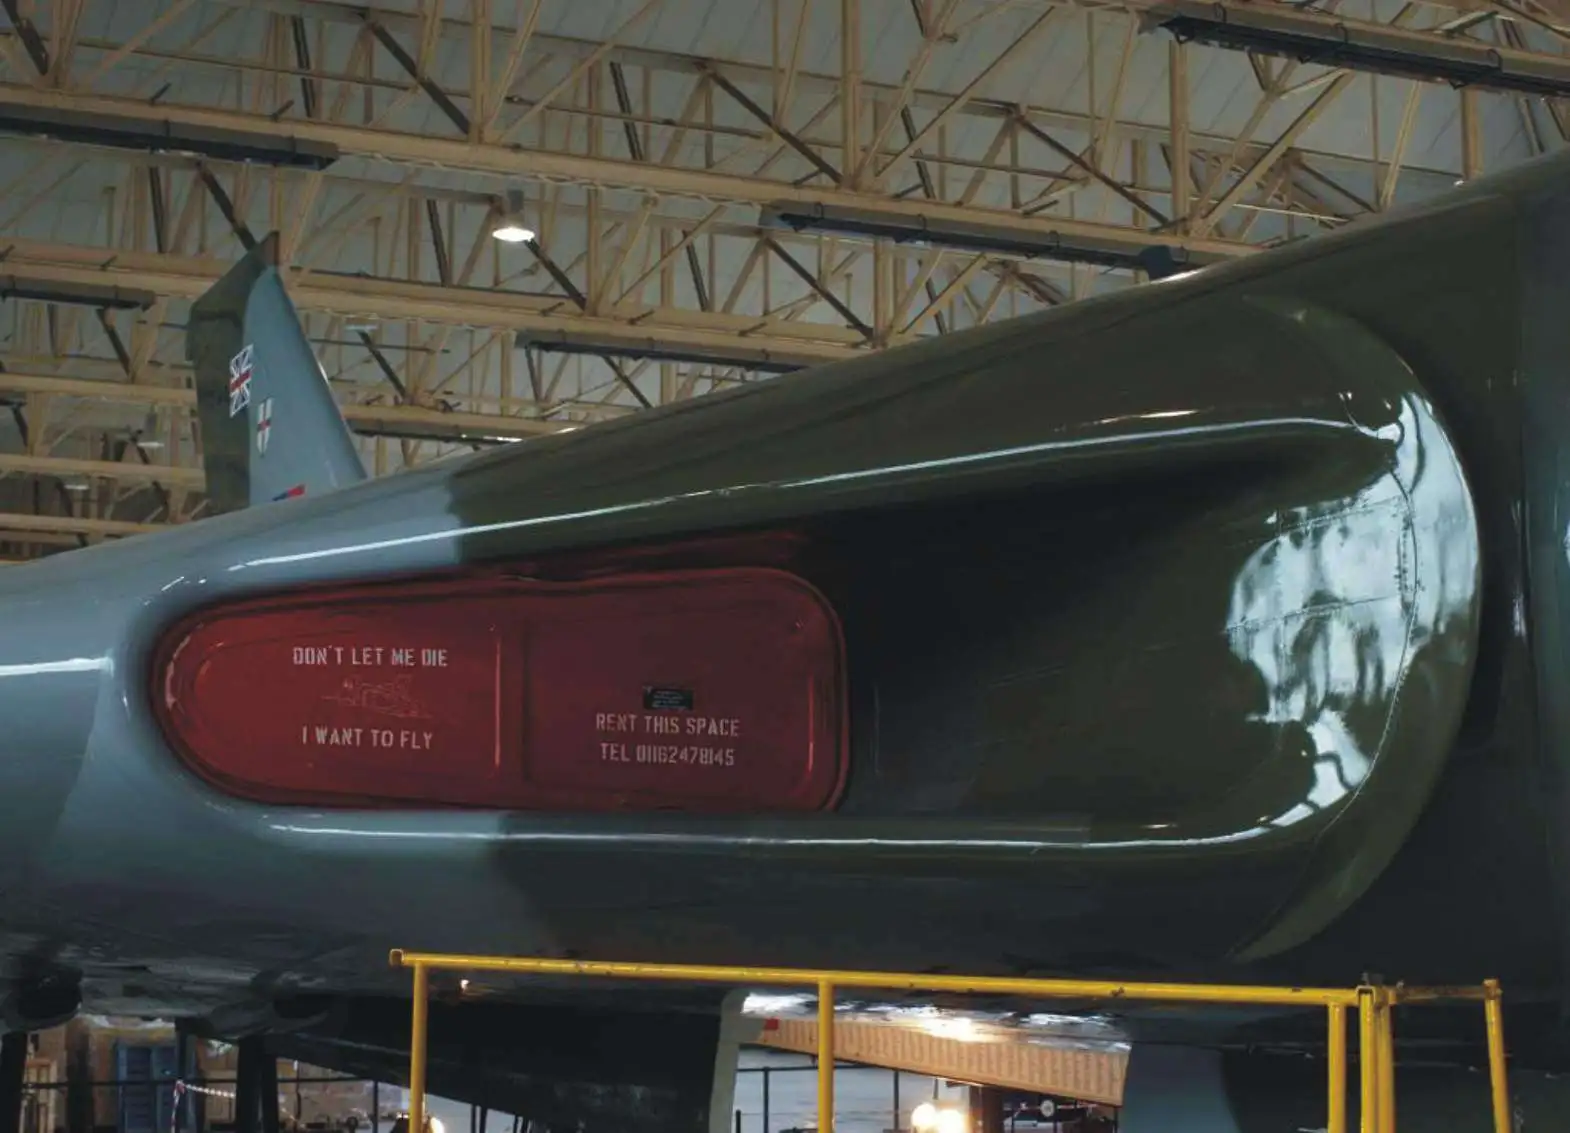
One of the many inspection tasks we carry out during the winter service is to ensure there is no damage to the intake tunnels forward of the engines. Every time before 558 flies we check the tunnels to make sure there is no damage such as cracks, loose rivets or panels which would get sucked into the engines (100 kilos of air a second makes one heck of a vacuum cleaner) during the winter service we have a more detailed look.
This year we discovered there was a “rattle” behind one of the skins in the roof of No.1 intake tunnel, it was also possible to move the skin slightly with your hand – not good. We tried to look behind the skin using the Olympus boroscope but in the finest traditions of all things Avro there is no access so we were left with no alternative but to remove the skin and see was wrong behind it.

We have been assisted with this year’s winter service by John Maton from JMC contract services of Exeter. John had previously worked with us during a winter service at Lyneham when he helped us complete the landing lamp modification. John has been bought in to help out with some structural repair work and also to assist with some airframe mechanical work while I get things sorted out for the leading edge modification.
The first task was to remove the roof tunnel skin – over 900 “Avdel” rivets to remove! From the pictures you will see that John is not a particularly small chap and he fits quite snugly down the intake. Try spending a couple of days with your hands above your head to get a feel for the Vulcan experience!
Once the skin was removed we could look behind to see what was causing the “rattle”. I had suspected that one of the intercostals which support the skin may have been cracked, we have spare structural section is stock at Hinckley so that had already been delivered. However, once the skin was removed we found that one of the brackets which attach the intercostal to the structure had broken. We also discovered that while the skin had been vibrating (remember that lovely howl and the 100 kilos of air rushing past) it had cracked along the line of rivets.

The aircraft structural repair manual indicated that an insert repair would be required to the skin and the bracket would obviously need to be replaced. The skin was marked out in accordance with relevant repair figure – this is of course fairly vague as the designer could not be expected to know exactly where any damage would occur. The illustration gives a radius for the cut out, the pitch and edge distance for the rows of rivets, tells which gauge of material to use for the inserts and the seating plates and that is about it. The rest is left down to experience of the technician carrying out the repair.

Once the repair has been marked out the damaged section of skin is removed by “chain drilling” You take a 3.2mm drill and drill thousands of holes inside the line – then join the holes up and remove the bit of skin.
The next stage is to manufacture the insert for the skin. It needs to fit exactly inside the cut out with a 0.05” fretting gap all the way around. Then we made up two seating plates for the insert to sit on.
The next stage was to mark out the rivet pitches onto the seating plates and then transfer the pattern onto the insert and the skin. Once all the holes have been drilled and the parts have been paint primed it is time to start assembling the repair.

The skin with cracked section cleanly cut-out
First of all the seating plates are assembled onto the insert. They are attached with 1/8” mushroom head rivets (similar to the rivets which hold the skin in), then, the insert and seating plates were attached to the skin. John had made a hole finder tool before he removed the damage section of the skin, once the insert was fitted he could transfer the holes for the intercostal into the new section so that it lined up with the holes in the structure.

The new bracket was made from the standard section from stores as instructed in the repair manual and then bolted back in. As we had removed 900+ rivets that meant there were 900+ rivet tails to recover from inside the structure – they get everywhere!


Repair nearing completion ……

All good to go and time to refit the skin. Two man job to hold up the skin and attach it with “gripper pins”. The Avdel rivets are inserted with an air powered gun which is fairly simple to operate (though as it is about 30 years old it does tend to be a bit “fussy”). Once again though, that is 900 times John has had to fit the rivet into the gun lift it above his head, push the rivet into the hole, pull the rivet and repeat.

The down side of Avdels is that it’s not the end of the operation. When the rivet is pulled, it leaves a mandrell which sticks out about ¼”. This then needs to be cropped (chopped off) and milled so that it is flush with the rivet head. So around about 2700 operations to fit the skin and that is without any of the rivets which did not pull properly and so had to be replaced.

Starting to refit the skin to the upper section of tunnel.

Close-up of the rivet heads that need cropping …

Cropping all the rivets and cleaning up ….

Inspecting the final job, just painting left to do.


On Saturday 30 August 1952, history was made as Avro Type 698, VX770, took to the sky for the first time. It was the prototype

When it comes to aviation, even the tiniest details matter. From the type of paint used to the equipment on board, everything plays a role

The year 1944, the month June, the day the 6th. The commencement of the invasion of Europe with Operation Neptune to transport 160,000 troops across
Originally written for VTST by Lieutenant Colonel A.W Garrad in 2012 In recognition of the Australian and NZ financial supporters of XH558, of which I