Britain’s Nuclear Deterrent Development – Part One
The discovery of the neutron and its properties is central to the extraordinary developments that lead to the first atomic bomb in 1945, and the
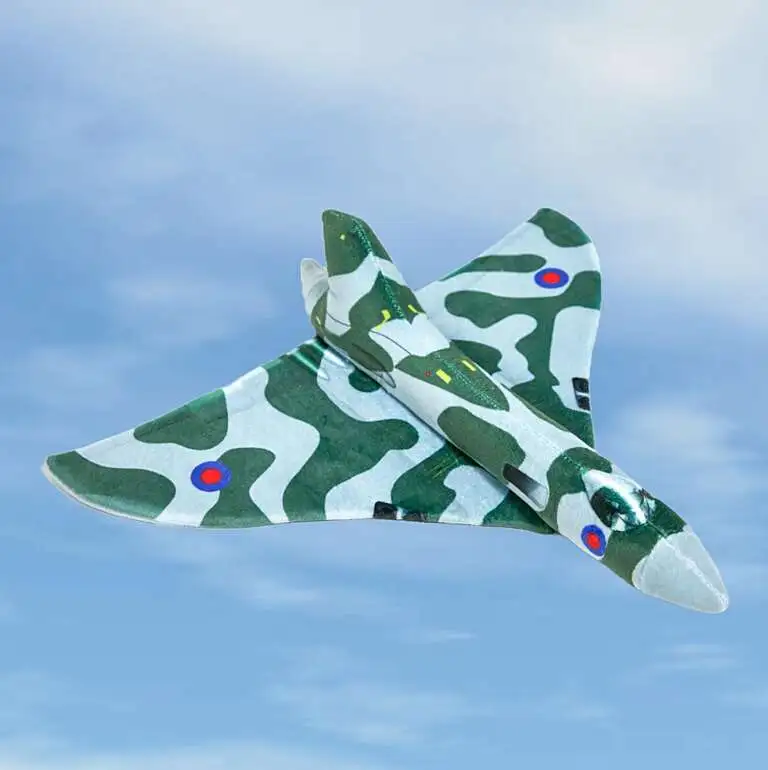
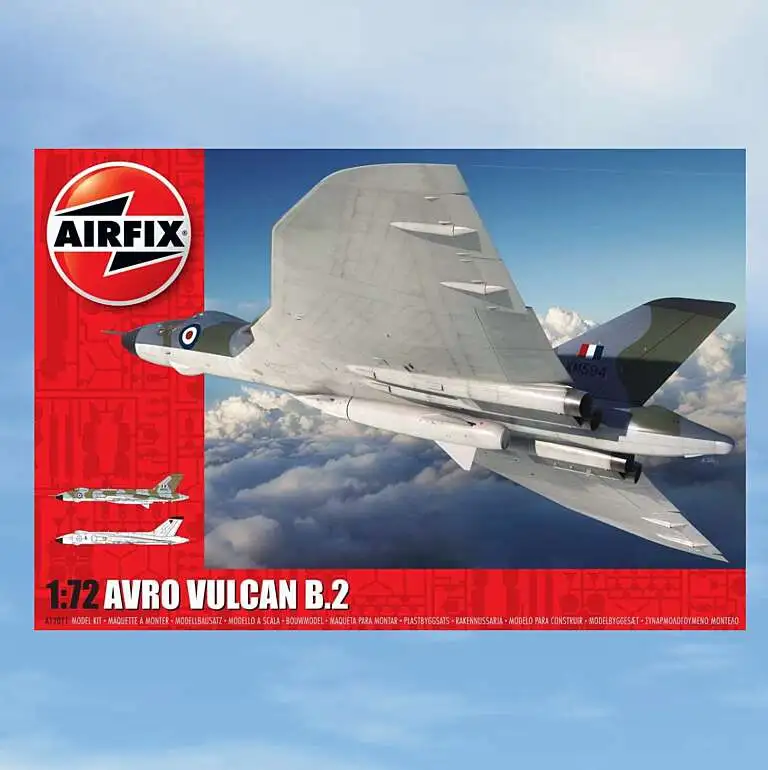
The A.V. Roe & Company (Avro)
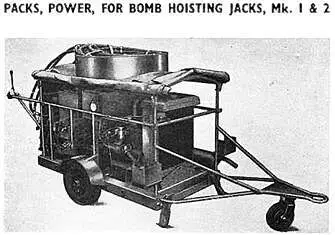
Avro Vulcan Bomb Loading Power Pack
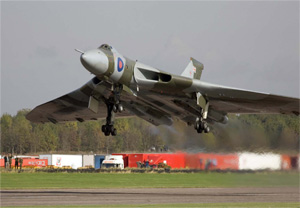
During the 20th Century Cold War, Great Britain needed to have an updated, premier all-weather high altitude strategic bomber, capable of delivering a nuclear strike payload on a one-way mission. After winning the Second World War the mighty Lancaster became tired and needed updating. Plans were drawn up to replace the aircraft with the new A.V.Roe (Avro) Vulcan bomber. Created in the early 1950’s, the aircraft was designed to carry 21 x 1000lb GPB’s (general purpose bombs), there were instances where 30 GPB’s could be fitted but this was thought not ideal at the time and not routinely adopted. Primarily the aircraft was designed for its long-range nuclear capability consisting of several different yield types of weapons, thankfully they were never deployed in anger.
The Royal Air force had to have the means and capability of loading GPB’S bombs quickly and with military precision. Therefore, the MK-2 Power Pack (bomb loader) was created back sometime in the late 1950’s. The loader was mobile, being towed anywhere it needed to operate from. The loader vehicle engine supplied power to the hydraulic pump which created pressure to two external hoisting jacks which raised the bombs into the aircraft bay, during bomb loading operations. The jack’s purpose was to raise a 7-store carrier fitted with 7 x 1000lb bombs vertically into the bomb bay. They were attached to the aircraft suspended on the H.A.S.U (Hoisting Aircraft Suspension Unit) of the bomb bay jacking points.
The Mk. 2 Power pack consists of a towable two-wheeled chassis with two pneumatic tyres and a castor wheel at the front. A large bulky frame was made from tubular and box section steel to encompass the engine and hydraulic systems. Once started the engine gave rotational assistance to the connected hydraulic pump. In turn this drove the various parts of the hydraulics to provide pressure to the jacks.
The engine is an E93a 10hp Ford Prefect sidevalve engine, this type was used for its simplicity and reliability and research shows our engine was made in 1939. Of water-cooled design it appears industrial but was used in various motor cars of the early 20th Century, ours would still fit a Ford Prefect chassis today.
A large 13-gallon capacity hydraulic reservoir tank sits in the frame, next to a 7 Gallon petrol fuel tank.
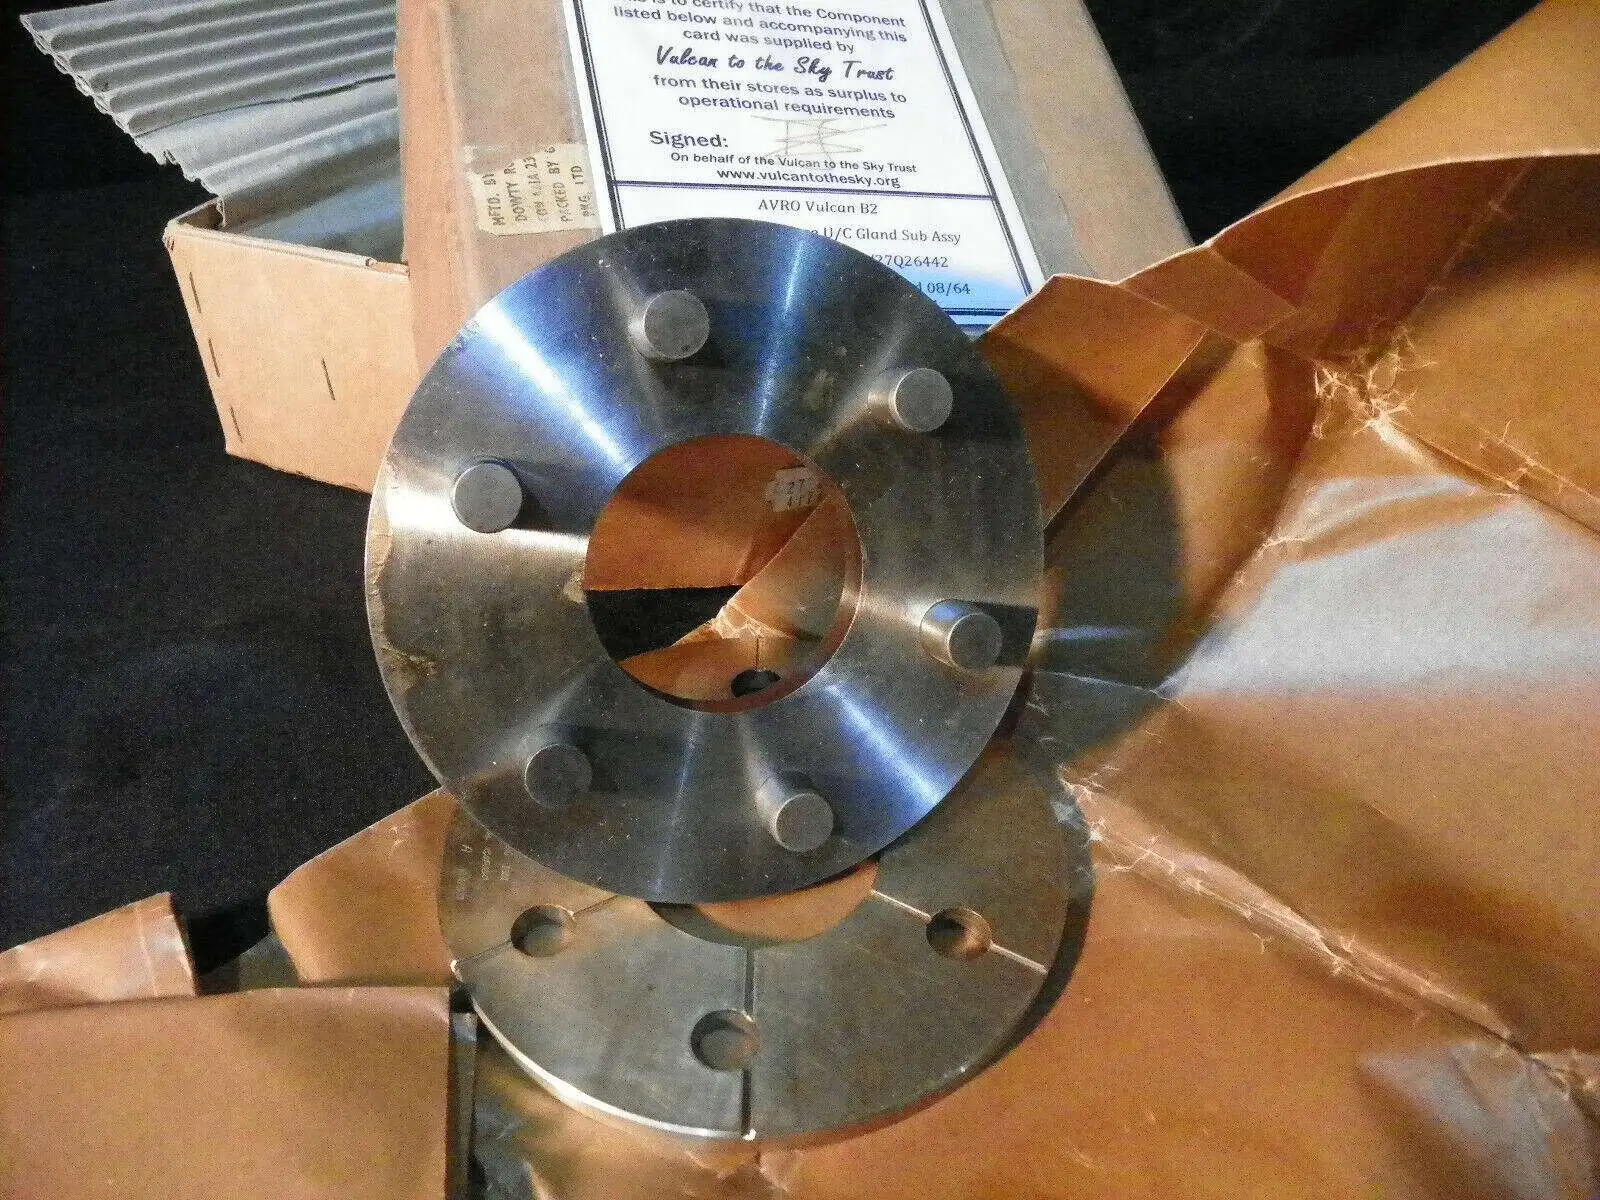
The hydraulic fluid (OMD-15) feeds a large shaft driven pump coupled to the back of the engine. There are various valves, pumps, and brass pipework all around the system. The two jacks hold fluid internally and when pressure is applied the fluid forces the internal pistons (Mushroom Heads) to rise. These were then hoisted vertically with the 7-store bomb carrier and attached to the aircraft H.A.S.U connectors on the bomb bay jacking points.

Provision was made for transiting both jacks out to the aircraft one on each side of the power pack. Each jack had a set of small castor wheels at the base and carrying handles. Each jack weighed 152 lbs (69 kilo), it could be moved by one person, two if there were no castors fitted and manually lifted.
On the frame a castor wheel was fitted below the front towing arm to facilitate ease of manoeuvring, there were two retractable metal legs situated at the front and a single telescopic strut at the rear to stabilise and level the pack when in use.
The maximum working pressure required for operating the jacks was 3,500 lb. per sq/in.
The pictures below show how we found the power pack, it was in a shocking condition. It was probably used last in 1984 when the Vulcan fleet had been disbanded and left to rot.


Pete and I are both ex Royal Air Force Armourers and joined the XH558 Engineering team to work on her in our spare time. We have both worked on numerous aircraft in an armament role, also 1st and 2nd line maintenance. We were privileged to have looked after everyone’s favourite iconic cold war jets, Buccaneers, Jaguars, Phantoms, Lightnings and so on, right up to the GR1-4 and F3 Tornado Squadrons, we have been detached all round the world and been involved in several NATO operations around the Mediterranean and Middle Eastern Gulf States.
I guess you could say it is in our blood and to get the chance to help keep 558 running is indeed an honour. Pete used to work on Vulcans at former RAF Scampton back in the last Century.
It all started one day about October 2021 when Pete and I walked into the back yard of Delta Court, home to the Vulcan to the Sky Trust offices. There was an old looking piece of machinery sat under an old weather-beaten tarpaulin, rusting away all neglected and ready for the scrap man. The funny thing was nobody around on that day knew what it was until Pete told everyone. “IT’S A VULCAN POWER PACK USED FOR LOADING BOMBS ON THE JET”, ears pricked back, smiles aplenty.
At that point Jim (Debenham) the “Airside Boss” said we could restore it to its former glory. The words were akin to “Crack on with it lads, rebuild it we could use it on Vulcan days, if you want to.” Pete and I jumped at the chance, loving a challenge we decided to give it a go. Below is a tale of how we went about it and the lengths we went to rebuild the power pack for next to nothing, this is our journey.
The first thing to do was to check over the power pack, (which is a MK2) for functionality and condition. Everything was rusted, paint flaking off and seized up apart from the engine. With the correct size socket, we pushed an extension bar through the access hole in the bottom of the radiator. The socket attached to the crank shaft pulley and with ease the engine turned, having stood for about 30 years, this was very encouraging. Piece by piece we started taking the loader apart, labelling everything as we progressed.
Both, hydraulic and fuel tanks were drained of any fluid then removed. The radiator was drained then taken off, then we started on the large hydraulic pump, associated hoses and pipes, and other pumps and valves.
When the Vulcan fleet was decommissioned mid 1980’s there were numerous weapon loaders that were either sold, scrapped, or squirrelled away never to be seen again. On ours the towbar and jockey wheel had been cut off, several parts of the 25mm tubular frame had also been chopped out effecting the rigidity and stability of the unit. On speaking to other ex- armourers from the Vulcan fleet, one in particular told us he had the job to service the loaders at Waddington in 1984, and to disable some so they could not be used in civvy street, no names mentioned (Howie).
This caused a bit of extra pipe fitting and welding and total reconstruction of an identical replacement towbar.
As we don’t really have a purpose-built workshop, we needed to find somewhere to carry out certain types of repairs that couldn’t be completed at Delta court. Pete in his spare time also works down at the South Yorkshire Aircraft Museum (S.Y.A.M) in Doncaster as a volunteer.

Several other Vulcan XH558 volunteers are also members at S.Y.A.M. James Stables has helped Pete manufacture the missing tow bar, and fabricated tubing, re-connecting the chopped-up pieces of framework.
The facilities at S.Y.A.M are great for fabricating anything and everything, along with a wealth of engineering knowledge there are plenty of skilled enthusiasts there to lend a hand.
A big thanks to Bill and the Trustees at the museum for letting us use the facility. The museum is a wonderful place to visit for any aviation enthusiast, or potential future volunteers.


I did some research into where we could get the engine checked over and rehauled. It was going to need a lot of work as it was in a state of disrepair. At least the engine was not seized and turned over nicely. I contacted a nice man named Danny who just happened to own a business called FORD SIDEVALVE ENGINE SERVICES of Rochdale. He was keen to come down to Doncaster and see the loader and engine as his father had served in the RAF at former RAF Finningley.

Danny came down to Delta Court, at old Finningley base with his son to where we keep the loader. He looked at what we had, yes it looked a mess but was excited to see the engine’s condition and discussed a plan to bring it back to life.
According to his data base he found out that our engine was an early 1939 Ford Prefect sidevalve engine 10 HP. We asked Danny about what he could do for us, and he turned round and said I will do an entire full refurbishment for nothing. This was fantastic news as there was a lot of work to be done, there was approximately £2000 worth of work to bring the engine into the 21st Century. Danny and his son took the engine back to their workshop in Rochdale to begin the rebuild. This was about August 2021 and what a job they made; everything was brand new. A nice lick of paint finished off Danny and his family’s incredible hard work.

Danny has made a huge contribution of technical skill and professionalism and we were pleased to welcome him on a Vulcan Engine Ground Run Experience, which he thoroughly enjoyed. Thanks to Danny and his team they have made new the 85-year-old engine come to life for a long time ahead.
(P.S the engine starts first time every time).


Whilst the motor was away Pete, and I had a lot of work to do. Every component was removed from the Loader and stored where we could easily get to. All the nuts, bolts, washers etc were bagged and tagged, (I am sure we have got some left over).
Everything was sanded, stripped, rubbed down to bare metal. We thought this would be best to help preserve the longevity of the loader for future generations. Once the framework was left bare, we took it to a place locally where Scott from Swift Blast Cleaning & Painting Services agreed to blast the frame back to bare metal.
Being local and seeing the Vulcan’s flying as a child he was keen to donate his services for free, if we supplied the paint. Scott blasted, undercoated and then layered the final coat of green paint all over.
The large tin of paint was obtained from Gavin, a manager at the Old RAF Misson Rocket site near Bawtry home of L. Jackson & Co’s military hardware site. They sell lots of ex-military vehicles and equipment, finding the Paint was an easy task, and again supplied for free.
Blasted and primed in red oxide then top coat of Nato Green.


While all this work was being carried out Pete and I had the mammoth task of stripping down the two jacks. This was a learning process as fluid at some point leaked out of every orifice possible, all over his drive.


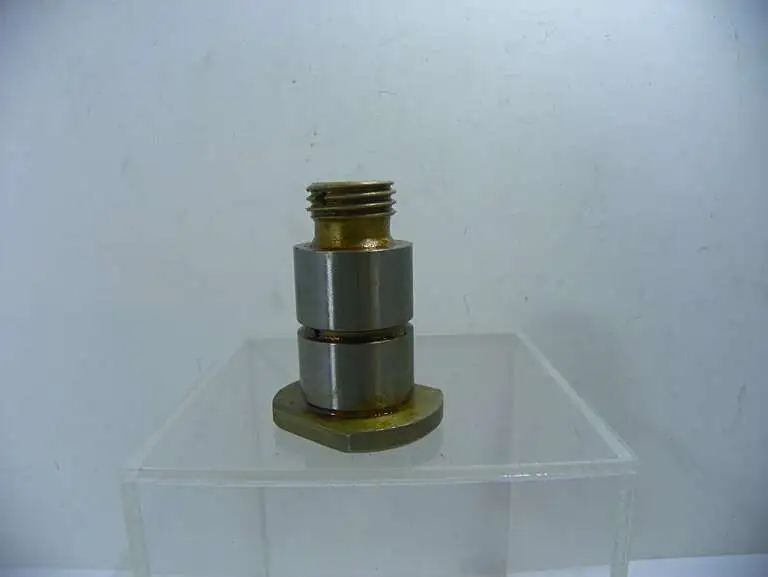
The jacks and carrying handles were all stripped to every component, nut, and bolt. It took ages to get the top end caps off as they were held in by a 3mm grub screw and 30 years of baked on paint.
The theme with the whole project was if it does not come off then 10 minutes with a blowtorch moves anything. This was practiced numerous times and a worthy of note for anyone attempting the same thing. The two lifting rams were stripped and cleaned, taken back through several original-coloured layers, yellow, blue, and green years of RAF paint. The weight of each jack made it feel like we were weight training at the same time.
Image on right: Special made tool for taking off the jack heads

All the hose connectors were refurbed with new seals to make the rams leak proof, or so we thought…
Pete had a good contact named Roy Herring who is Area Manager at a company named HAYLEY which specialises in hydraulics and repairs. He was keen to get the company involved in 558’s legacy and was only glad to get his team involved to restore all our hydraulics, pumps, pipes and the two jacks for the loader. As a result, one of the managers Nick Peel took on the project and everything was refurbed to a high standard. The jacks went away to a firm in Hull who completely took them apart and professionally stripped and made brand new seals, then tested our system to 3500 lbs psi.
Once the Loader was back at our HQ Delta Court we started to rebuild. Firstly, we needed the frame mobile so painstakingly both wheels were stripped into their various parts. All the split rims were taken back to bare metal primed and sprayed green, newer tyres were found, fitted, and pumped up to 60 p.s.i. I painted accent details on both sides of the wheel nuts and bolts in red, this just gave it a more pleasing look as seen below.

As we started to re-assemble the power pack, we planned to meticulously fit everything slow time piece by piece in reverse order. The engine hydraulic pump and stall valve went in next followed by the twin selector valve. This is controlled by the two large levers to raise the jacks up and down. Unfortunately, we noticed a large crack across the bolt holes which meant we could not secure it to the pump. Frustrating as it was it needed repair, or total fabrication of a new one. I found a metal fabricating firm in Doncaster and took the piece down to see what they could do.


The guys decided the best thing to do was cut both ends off the block and re-weld totally new ends. This was a good plan as it was going to be a stronger fix. Then the redrilling of new holes in the exact spot finished off the repair. That was a life saver as Pete would have had to have made a new one from a steel block, I’m sure he would have said I had to do it being the ”Old Chief tech.”
The stall valve (top left) shows the large crack across the threads, top right shows the repair which meant we could now bolt it back on to the pump. The lovely, refurbed engine went in and fitted like a glove, straight onto the mounts and secured. This was left unfinished until the rest of the gear was attached.


All the loaders associated hydraulic pipes were made from a mixture of brass and copper, all with minute identifiable serial number tags to help the procurement of spares from the RAF stores.
The assembly continued and all the other hydraulics gauges and valves were fitted. The engine was already back in and then coupled up to the newly refurbished large radiator. The hydraulic oil tank and the 7-gallon fuel tank were refitted. Within those items were several gauges which had seized, these were stripped repaired and refitted in a working condition. There has been a running battle with the radiator and hoses. As part of the cooling system there were two metal pipes along with standard hoses. Due to age and being full of water the old metal pipes had seen better days, having developed several holes in them. We attempted to weld them up which only made things worse. The heat of the welding made the holes even bigger. We tried all sorts of ways to fix the holes, metal putty, rubber water sealing tape. It was no good we had to have new pipes. We have tried to keep as many parts as original as possible, some things just had to join the 21st century. We went for Black silicon pipes and after several purchases got the size we needed. Once the correct diameter was established, they were fitted and looked robust and modern.
Now full of water, a short period of reflection and monitoring of the radiator began. Time passed and Arrrrrrrr… was the word of the day, present was a small but persistent leak coming from the brass coupling situated at the top of the radiator side facing the engine. At this point I’ve lost track of how many times we emptied and filled, emptied, and filled.
So, with another leak to contend with we contacted Nick at HAYLEY’s, he knew of a company that could weld brass. Brilliant news. Off came the radiator and it was sent away for a bit of T.L.C. and brass welding around the neck of the pipe. The actual radiator was made by a company in Lincoln back around the 1960’s, they still trade today.
Once repaired and returned to Delta Court we refitted the radiator and made sure it was level on the mounting plate shims, if you don’t shim correctly, you cannot fit the socket wrench extension that fits on the crank shaft pulley. The new silicon pipes were fitted to the engine and refilled with approximately 3 gallons in old money (13.63ltrs) of water minus a bit for addition of antifreeze. The engine was checked over, all connections were tight, oil was at the correct level and all cables and wires attached.
The original exhaust box and pipe was in a sorry state, years of rust and dilapidation and global warming left it with a rather fine patina.


The long pipe seen in the righthand picture was a piece of spare scaffolding pole, guaranteed not to rust and last the life of the vehicle. Once fitted back on the engine we chopped off the end of the pipe to a suitable length and cut an angle to point the end down to the ground.
Starting the engine for the first time was a little tricky. We had fitted a fairly new 6v coil to the engine which was a spare from my 1971 Triumph stag. The wiring from the coil went to the starter motor which led to the battery and then up to the control panel. Now there were only 3 main wires in the circuit, but this seemed to be a bit complicated at the control panel end by various pull switches and an ignition light.
We decided to renew all the wiring and tested the circuit one wire at a time. After a few sparks here and there, several blown bulbs, and the odd electric shock we attempted to start the engine. At first it would not start at all, puzzled as we were someone had turned the fuel tap off… Now I am not saying who it was, but it wasn’t me, must have been the Chief.
Fuel tap on, a few pulls of the launch starting knob and the engine came to life. The engine ran perfectly, it wasn’t noisy, it wasn’t a smoker it was just nice to see it running after so many years.


Before… during… and after final refurb of the small control panel
At this point we were feeling rather coy with all our good, hard work and achievements. However not too long later we had a really hot couple of weeks where it was in the late 30’s in Celsius. It was then that we seemed to have developed a heavy leak whereby a large amount of hydraulic fluid decided to go South of the loader onto the floor.
A quick call from the boss and we went to clean up the mess. Once the remaining fluid was captured and transferred to large barrels, we began the lengthy fault diagnoses. Like the radiator, the hydraulic tank came off and on several times, as we attempted to find the leak. Eventually we traced the leak down to the stall valve which is attached to the hydraulic pump. Also, the hydraulic drainage tap caused us a few weeks of work as whatever we did to it just would not stop it weeping hydraulic fluid. Whatever repair we did did not sort it. So as a last resort we had to purchase a more modern leaver type tap. Touch wood this has seemed to cure the problem, no more leaks to date, everything crossed.

I might add that we have kept all items that have been replaced as they are part of the loader’s lifetime legacy. Along the way we have encountered lots of parts that were made from brass. I suppose back in the 60’s the price per ton was low.

In fact, a bit of research shows that the price of brass was low compared with today’s market. This was probably why the armed forces could afford to use this commodity freely.
So now we are at the point where the refurbishment is 99% complete, we must still monitor the various oils, fuel, and pipes for leaks and weeps. The electrical system is not too complicated, so it looks after itself. The loader is so efficient, starting first pull of the launch switch every time.
The one improvement to the system would be fixing the dynamo and fan belt to the battery to provide a charging system. Currently the battery supplies the power for the engine all the time it is running so drains slowly. This is work in progress and we are not sure if that’s the right way forward, we shall have to see.


The discovery of the neutron and its properties is central to the extraordinary developments that lead to the first atomic bomb in 1945, and the
Vulcan XH558 had been the star of the RAF’s Vulcan Display Flight (VDF) for six years, from May 1986 to September 1992, but as a result of budget cuts the MoD
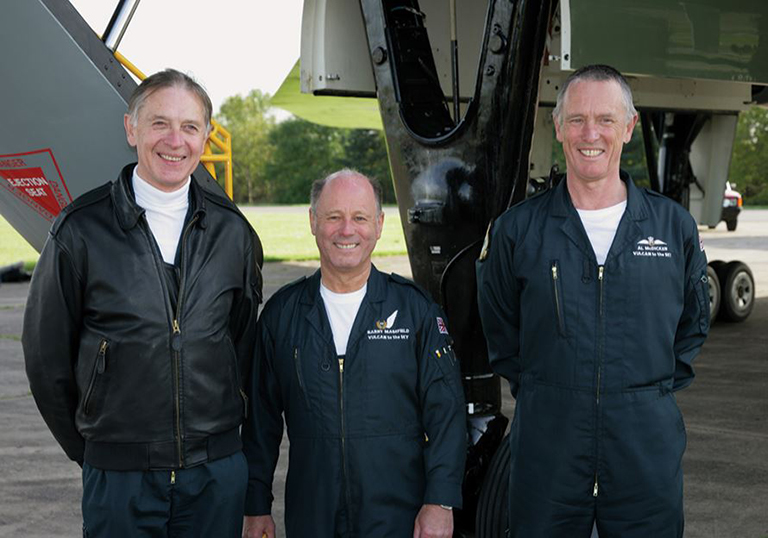
Barry Masefield was the Air Electronics Officer (AEO) for Vulcan XH558 and had flown in this iconic aircraft for over 30 years, also being a
Barry Masefield was the Air Electronics Officer (AEO) for Vulcan XH558 and had flown in this iconic aircraft for over 30 years, also being a